Almost all of the tutorials I share use some form of facing. However if you are new to sewing, or new to self drafting maybe you find yourself a little lost when it comes to facing. Honestly it was one of the things I always wanted to skip when I was first learning to sew, and interfacing? Forget it! Who needs it I would ask. Well let me tell you I have long abandoned that foolish thinking and have come to realize how easy and necessary both facing and interfacing can be. Hopefully today's sewing lesson will clear the air for you as well.
Let's start by the drafting of facing. I am going to show you neck facing and combination facing today. (with a few twists) Facing is used other places as well but the basic drafting is the same idea for a neckline as it is for a waistline.
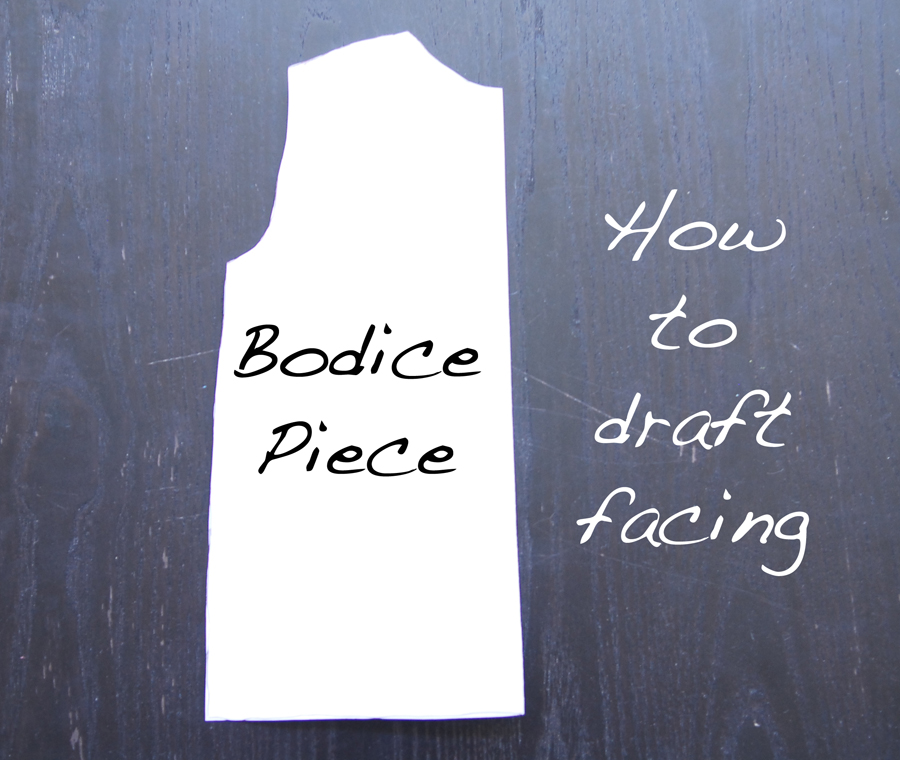
Start with your bodice piece. (need help drafting one?
check the drafting lesson)
From your bodice pattern you will simply follow the curve making a new one about two inches in from the edge. Then after you cut out your bodice piece cut along the dotted line and you have the pattern piece for neck facing. (simple right?)
Now let's talk combination facing. Combination facing is anytime you are using one piece of facing to cover both the neck and arm opening. You would do this if say you wanted the top to be sleeveless, this helps finish the edge. (I used combination facing in
this dress)
Here are a few "twists" on facing. Say you have a slit or opening partway down the bodice (something I do often for a larger head opening) On the top you will see regular combination facing and on the bottom you will see what it looks like if you make the facing come down longer to allow for the slit. (you could also make it a full facing and make the facing the same as the bodice)
Here we have neck facing on top and neck facing with room for a slit or as I like to do sometimes have a fun flap to put a sewing label or tag.
Handling your facing is just like you would handle your bodice. Start by sewing together at the shoulders. What ever you do with the bodice do with the facing. Then to face the neck opening (hence the term facing) Sew the facing and bodice right sides together along neck opening. Then turn it around to the inside.
One method of securing the facing to the bodice is to topstitch the edge. Here I did a decorative stitch along the edge. For the combination piece you will then fold under the facing and the bodice edge so the raw edges of both are turned inward. Then top stitch along the edge.
Lastly one way of finishing the edge is to use pinking shears and trim the edges. This helps the fabric to fray less.

There you have a nice finished and faced neckline and sleeve opening.
Next let's talk interfacing. Like I say I used to skip it thinking it was not important and just a waste of time. (much to my mom's dismay I am sure) Then I learned there are only a few slight differences in how you sew that make huge differences in how something turns out. Interfacing for example helps to give and keep shape to a neckline. Something that could other wise throw off the whole garment. so take the time to cut out and iron on some interfacing... (there is of course sew on interfacing to, but iron on is just so easy)
There are also a number of ways to finish the edge of your facing. Like the pinking shears shown above, or you can turn under the edge and top stitch in place like this picture shows... (ignore the curve where my machine and I had a little squabble)
Another way and one of my favorite ways is to bind the edge with bias tape. Bias tape just makes everything look cute. To do this simply sandwich the facing in between the fold of the bias tape and top stitch around the edge.
Now let's say you want to secure the facing but you don't want the top stitch to show on the outside. After you sew the facing to the bodice, clip those curves. you have to clip (the little triangles cut into the edge) if you want this to lay right. Then press the seam so it is on the interfacing. Top stitch along the seam.
You will notice when you turn it around the stitching is on the facing but not on the bodice.
While that stitching will secure the facing for the most part you will also want to take a thread and needle and just tack the facing in place at the shoulder seam.
Then you are done you have a nice finished neckline and no top stitching in sight.
Well except on the facing of course. And who can pass up some great facing with a cute little place to put your tag or sewing label?
Well I guess it is time to fall in love with the inside of your garment as well as the outside. Don't you just love what a little facing can do?


No comments:
Post a Comment