 |
| I am still sewing for KCWC and since I am limited myself to what I can sew in an hour, the best way to do that was to take the time to embellish some pre-made tops. To start that off I bring you the Egyptian Tank, inspired by ancient egypt necklines... |
 |
| I started with this 2 dollar tank from Walmart. |
 |
| Added some embroidery and voila! A tank with a little something special. |
 |
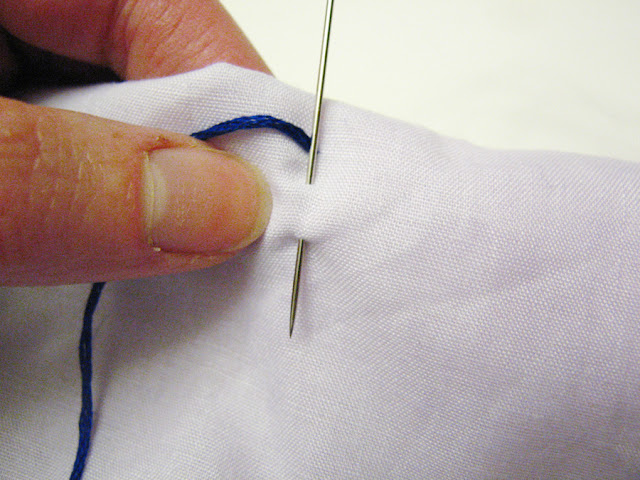
| Then come up through the fabric again another stitch length forward. |
 |
| Next I used a french knot (the little dots) Start by pulling the thread up through the fabric. Pull the thread tight and hold on to it. |
 |
| Then wrap the thread around the needle near the place you came through. The more you wrap it the larger the knot I like to do 3-4 times around. |
 |
| Then holding the thread still poke the needle back through to the back, a little away from the thread. |
 |
| Once it is poked through pull the thread tight again so the knot is not loose and is against the fabric. Then pull the needle all the way through. |
 |
| keep holding the thread tight as you pull the thread through to the back. |
 |
| Then you have a pretty french knot all tied up on top of the fabric. pretty easy right? |
 |
| Use some colorful combinations and designs and you can easily turn a plain shirt into something more in an hour. |
 |
| The perfect little addition to a summer wardrobe... |
 |
| Enjoy! |


No comments:
Post a Comment