I bit the bullet recently and made a "huge" investment. I bought a self healing mat and rotary blade cutter. If you have one or have looked into them you know why I say it was a huge investment. Those things are costly. I just figured it was time and like everything else I convince my husband that I need I use it to the fullest potential so money does not go waisted. Hence a skirt I had been dreaming about for awhile was the first project I made with the new set up.

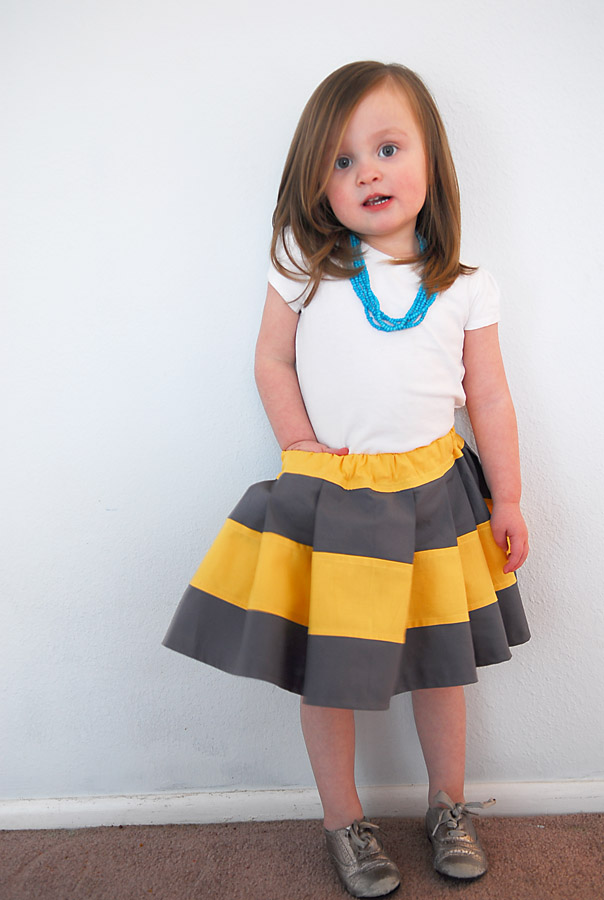
Beautiful stripes. (yep I have a thing for stripes) I have always had some issues cutting straight and even lines, especially for straight and even stripes. The rotary cutter and straight edge ruler changed all of that for me and the striped skirt was made! Oh and this one was almost a skirt for me, but I discovered I didn't have a zipper and I wanted a fitted waist with a zipper so we will revisit this tutorial in a week or so when I do a grown up version, although you could totally make an elastic version for yourself if you rather. (whew huge long run on sentence)

So to begin select your fabric. I like using two different shades for rotating stripes but you could use the same tone in different shades for an ombre effect. I used quilters cotton (100% cotton) they have a whole rainbow of colors available most places (for around 5 dollars a yard and it's often on sale)Or you could go white and dye it yourself. Now for cutting the stripes. I made all of my 4 inches long and the width is about 30 inches. (they are folded in the picture) Then for the waistband Measure the waist. Divide it in half and then add 2 inches. So Abbey has 20 inch waist so my waist band piece was 10+2= 12 inches. Cut 2 of each stripe and the waistband so you have a front and back.
Then with the ruler and rotary blade I just angled the ruler and cut all the stripes. This is why if they are folded they get cut the same on both sides. Make sure you do the same for the front and back strips.
Then with right sides together sew the strips to each other bottom of one to the top of the one below it and so on.
It's hard to see in the picture but I also pressed the seam and top stitched the seam so they would al lay flat.
Then when you have all the stripes sewn together you will add large pleats as you pin the skirt to fit the waistband. I started by matching the middle of the skirt piece and the middle of the waistband and then added 2 inch pleats until the skirt piece fit the waistband. Then sew it together.
Press the seam flat and topstitch. Then repeat all the sewing of the stripes and the waistband until you have a front and back skirt.
Then with the front and back pieces right sides together sew down the sides.
Next fold the waistband down half way. (I serged the top edge to finish the edge but you can fold it under twice if you rather)
Sew all the way around the waist leaving a 2 inch opening then slip in some elastic. (I just put the elastic around her waist and measured what would be a comfortable fit, not too tight so she can grow a little)Sew the elastic in place to secure. Then sew the opening closed, hem the bottom and you are done.
Although Abbey has been so spoiled by pockets lately she was sad that I didn't put a pocket in the skirt. You could easily add an inseam pocket
(find help here) I just love the big pleats that make it a lovely full skirt that still has clean lines.
And the stripes? Yep can't get enough...


No comments:
Post a Comment