
Yesterday we made some leggings. (the white ones in the picture) So now I have 3 different tops made to go with the leggings to give you three totally different looks. Today's is a nice and long tunic. Appropriatly named "babbey" which is what my daughter calls herself.

A lot like the circle top, or the dreaming of sunshine top. This top is a twist on my favorite looks and offers a V neck for the front and back with a button overlap in the front (or back if that's how you want to wear it)
So let's get started shall we?

Start by grabbing that go to pattern making shirt. (you know the one that fits perfectly) Turn it inside out and fold it in half. Trace the shoulder mark and then make a mark where you would like your V neck to come down to. (you can see my little mark there) Then mark the neckline. Then take your ruler or straight edge and connect the dots. Draw a straight line from the shoulder mark to the neckline mark and then from the other side of the shoulder to the bottom mark.

Now cut out your neckline piece and use it as your guide for the bodice piece. Trace the neckline piece and then on the add a curve for the arm and add as much length as you desire. (easy right? I love two piece patterns)

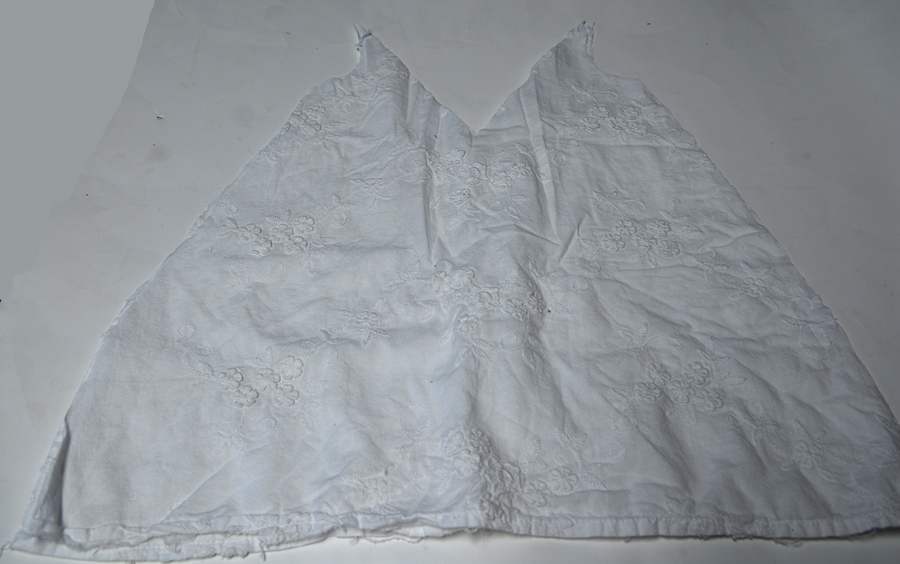
So when you cut them out cut two neckpieces on the fold and then 4 not on the fold. For the ones not on the fold add an extra inch of allowance for the button overlap.
Then for the bodice cut two out on the fold.

Start by sewing the neckline pieces together. Sew them at the shoulder seams. You will make two of them.

Next with right sides together sew one of the bodice pieces to the back V.

Next (and it is a little hard to tell that it was done but it was) Sew the other neckline piece to the neckline. Right sides together sew only along the inside of the neckline. Then turn it around to the back side.

Now hopefully this next part will make sense it was tricky to take a picture showing you exactly what to do. Sew the other bodice piece to the front V pieces. To do this first you have to line up the overlap pieces. Pin them to secure. This should create a V for the front and then you want to sew the bodice piece just as you did for the back. Only sew it to the front neckline piece. (since there are two layers make sure you only sew it to one layer make sense?) Then you should have a nice little over lap.

Then with right sides together sew down the side seams of the bodice. Next for the arm openings, sew some bias tape to the right side and then turn it around to the back and stitch in place.

Now for the inside layer. fold under the edge around the front and back and sew in place.

Lastly hem the bottom add buttons and button holes to the overlapping flap (optional of course) Then you are done! Pretty easy right?

Now you have a fun little tunic perfect for summer since there is still plenty left, but you can easily add a cardigan for a great fall transition.

I love the V in the back.

And the overlapping V in the front with the button closure.
Enjoy!
No comments:
Post a Comment