Thursday, November 8, 2012

Living with Cats {Product Review}

This is a Sponsored post written by me on behalf of Comfort Zone® products for SocialSpark. All opinions are 100% mine.

I am not a cat person, there I said it. However, my kids, husband, and husband's family are very feline friendly. Ok, beyond feline friendly, Abbey is flat out cat obsessed. So not having a cat in our life just doesn't seem possible. (I tried, I lost) However if you have cats you probably know about the undesired behavior that can come along with them... scratching furniture, spraying, ruining rugs, I could go on and on. So when I was given the opportunity to try out Comfort Zone® with Feliway® for cats, I was on board.  Then I talked with my Sister and Brother in Law who added two new kittens to their family. (see all cat people) 
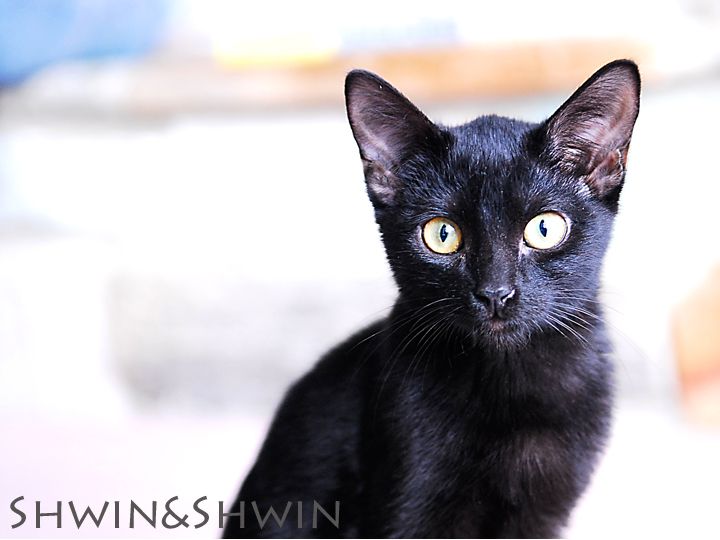
A cute little black cat and
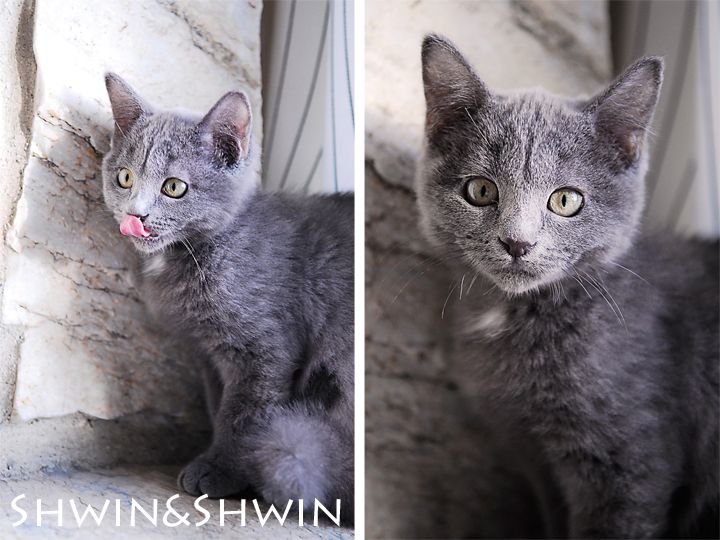
This sweet grey cat, both adopted from a local shelter and the kids were thrilled to be able to play with them whenever they visit their house. 

Introducing two new cats to your home can create a lot of uncertainty among  pets this  can lead to  bad behavior such as scratching furniture and spraying or urine marking around the house. 

My brother and sister in law were having trouble with their new additions scratching their sofa and acting up when crowds of people would come over to the house. So I let them try out the Comfort Zone® with Feliway® for cats. It mimics cats natural pheromones to help reduce stress related behavior. 

There is a plug in unit that you simply plug into any outlet and it releases an odorless vapor that mimics the cats natural facial pheromones. Plug it in an outlet in the room your cat(s) spend the most time to help keep it calm. 

The Comfort Zone® with Feliway® diffuser is also great for multi cat homes to keep the cats relaxed around each other. 

My brother and sister in law tried the diffuser out in their home for 1 month and said they saw great results, both cats were calmer, and had stopped scratching every surface in sight. 

We used the Comfort Zone® with Feliway® spray product in our home for our one cat. We have been having a problem with him scratching up and destroying a rug and recliner. At first I thought it was just a cat thing to do, likely part of why I am not a particular fan of cats, then I realized that it could be stress related behavior, he does after all live with two dogs "who like to play" and two kids who like to also "play" with the kitty. So we sprayed the Comfort Zone® with Feliway® spray on the rug and chair and tried it out for a month. I can happily say that both the rug and chair have gone untouched and the cat seems genuinely calmer. 


Comfort Zone® with Feliway® both spray and diffuser can be used at home or during travel to help keep your animals feeling calm and secure. 

You can learn more by visiting Comfort Zone® with Feliway®

Or by visiting them on Facebook

Visit Sponsor's Site

Christmas Kits for kids

 Ok I know I have said it before but I will say it again, Kiwi Crate changed our lives. (true story) I feel really lucky that I was given the opportunity to work with such a great company, and we are also paid subscribers to their monthly kits. Kiwi Crates are amazing. We just love them. If you have kids at home who are itching to get crafty but coming up with ideas and supplies, seems overwhelming, then seriously Kiwi Crate is just the thing. I first saw them on a family friendly website and I signed up right away, not only do we love the kits that come every month full of crafts and EVERYTHING you need to make them, but it unlocked a creativity in my kids and now we have craft time everyday. So when the lovely people at Kiwi Crate asked if we wanted to try out their new holiday crates I could not possibly say no. My kids were thrilled to do christmas crafts already.
 And the boxes literally come with everything you need so the kids can be as creative as they want. There are instruction booklets that walk you through each craft in the most kid friendly way. Jude can do nearly everything himself, Abbey usually needs a little assistance but she loves it even with the help. We got the
Crafty Christmas box with cute little cardboard gingerbread houses (all the fun and none of the sugar high) The kids LOVED creating the little house, people and trees.
 Abbey would stop and play along the way, she kept calling it her little doll house.
The cute little house was complete with stain glass windows and everything, super easy for the kids to make, and play with. The kit also came with ornaments that were fun to make paint swirled in some plastic balls and the kids can't wait to hang them on the tree.

The Holiday Crates can be purchased without a subscription and would be great to buy if you are traveling for the holidays what a fun thing to bring to relatives houses to keep your kids entertained, since everything you need is in the box you would be set to go.

You can also buy a Kiwi Crate, for yourself or Gift Subscriptions.

Or Win a Free Year of Kiwi Crate! Enter now. (totally worth it)

Wednesday, November 7, 2012

The Gradient Color Block Quilt

 So I have been making a lot of things lately, but the baby quilt? It got to the top of the "share" list because it is the easiest tutorial to write ha! It is actually one of the easier things to make as well. I did it in two parts over two days and the whole thing was done in under 4 hours. Not to shabby... of course, as I have said before I am NOT a quilter, so I cheated and instead of getting all fancy with the quilting I just sewed straight lines but hey... it works.
 I chose the colors I wanted for the baby's room (not even started yet but hey I still have 6 weeks right?) I made the lines get thicker as they move down the quilt. Hence the gradient thing.
 So yeah the tutorial? Pictures from my phone but you know it's really quite simple so I didn't take many pictures. Start with fabric. I used Kona Cotton since it comes in tons of colors and is super soft. I got 1/2 yard of the three colors I was using, and 1/2 yard of White for the base. (I used Magenta, Lime, and Grey.) All of the cotton was 45" wide and I just went with that width for the quilt. Most baby quilts seem to be about 32" or so (at least the ones I measured here at home) but I wanted a quilt that could stay with her to her toddler bed as well so I went 45". Then using a cutting board and rotary cutter I began cutting my strips.
For each of the three colors I cut:
1- 3" wide strip
1- 4" wide strip
1- 5" wide strip
1- 6" wide strip (even though I only ended up using the pink one and left the grey and green one off since it was getting too long)
Then for the white I cut 2" wide strips, I cut 11 so it would start and end with white.
 Then with right sides together I sewed all the strips together in a pattern of colors and getting wider as I moved down. (adding a white strip in between each strip) Then I used white flannel for the backing (nice and cozy soft but cotton would do just fine as well) I believe I used 1 1/2 yards? I don't know I bought 2 yards and it was too much. I added a layer of batting in between the two layers and then I used safety pins to hold it all together. Now you can get all fancy with your top stitching... at first I thought I would and then I figured I would ruin it so I went simple.
 I stitched lines along the top and bottom of the white strips to hold the whole thing together. Then I removed the pins and trimmed up the edges so they were all nice and straight, I also rounded the corners just a bit. For the binding I used bias tape binding and just sandwiched it on and sewed. Simple (and likely wrong)but it worked fine for me.

 Then it was done, and since the crib is not put up and a room is not prepared, I put it on my daughters bed, see how nicely it fits on a toddler bed? I have always hated that most baby quilts just cover the mattress. Of course now Abbey wants one for herself...
So there you have it, baby quilt done, not that it has to be just for babies, it could easily be made in any size and in any color. Like if this baby decides to come out a boy instead of a girl (I have my worries).

Tuesday, November 6, 2012

Link Party #41

Welcome to this weeks link party! Can I just tell you all how much I love Link Party Tuesdays! You are all so crafty and creative and just plan skilled, it is so fun to share in this little community with you. So here are a few of my favorites from last week:

 The adorable, Alida of Alida Makes shared this cardi refashion. Super cute, and I am starting to regret some cardi cast offs I got rid of.
 Mend and Make new shared this hexi quilt. Amazing piece work. I am not sure I could ever take on such a challenge but I am so in love with those darling hexagons.

Last but certainly not least, Rachel from Imagine Gnats made the loveliest maggie mae, I mean look how she lined up those prints? Yep she is super awesome, which I know first hand since we met at girls night out.

So let's see what you have been up to this week!

New to link parties? That's totally fine here's what you have to do:

Find a entry on your blog that you want to link up.
It can be ANYTHING (unless it's an ad or something let's keep it spam free)
Say it is a great new project you just made and have been dying to share it with the crafting world. 
the link should look something like this:
http://(your blog adress/website)/(the post you want to link).html
Linking to the post is the easiest way for people to get back to that post.

Then click where it says "click here to enter" 
follow the steps to link your post and create a title, and select your picture.
Keep in mind the picture will be small thumbnail so pick a picture that shows it off the best. 

Lastly if you were so kind to add our button to your page or post, or where every you store your link party things that would be super cool. You don't have to use the button to link up, it's just there for you if you can't live without it. 

cool? cool. Let's get the party started!


Monday, November 5, 2012

K.I.D.S Guest Posting

Today the amazing Jessica from Me Sew Crazy is launching a new series called KIDS
It's a Kids Inspiration and Design Series, and today I am her very first guest! I am sharing things about my little buddy and sewing helper Jude. While sharing ideas of how you can design with your kids. So pop on over, and stay awhile cause Jessica is amazing, and this series should be a lot of fun!


Friday, November 2, 2012

The Eleanor Dress {New PDF Pattern}

Instagram Friday is coming later but first...

 I have been busy working on a "secret" project. Ok not so secret but this pattern wasn't shared on facebook like all the others, so kind of secret. The Eleanor Dress Pattern is here! It's a favorite around here already and it's not even pink or purple... and it's a dress... why is it so loved? Knit! Yes that's right cozy soft stretchy knit, it makes the most comfortable dress and still has tons of style.
 The pattern has options, as it is being released in the winter line (yep line if I get my act together before this baby comes there are hopefully two more coming) There is a long sleeve option, and fun oversized collar option. The buttons? Purely for decoration they serve no function and that means no button holes.
 I just kind of love the cozy look of the oversized collar, and long sleeves.

 Just incase you don't battle cold weather, or are like us and get away with short sleeves for quite awhile, there is a short sleeve option as well. You can also skip the collar and go for the ribbing (in the instructions) and then you have a completely different dress all together. With pockets for all styles of course, because kids love pockets.
 The pleats offer the look of structure while keeping the dress super comfy. Again the buttons added to the shoulder are completely for decoration, and serve no function, just a fun little pop of color.
It's just a fun little versatile dress with options that will take you through all the seasons. And after seeing all the lovely creations my testers made I can say, this dress may be right up there as a favorite.

You can find the pattern here: (just click on the picture)

And as a reminder if you are stocking up on patterns don't forget about our bundle prices!

Buy 2 patterns for $12  Use code: BUY2
Buy 3 patterns for $15  Use code: BUY3
Buy 4 patterns for  $20  Use code: BUY4
Buy 5 patterns for $25  Use code: BUY5

Enter code at checkout for discount. 
One discount per purchase.

Thursday, November 1, 2012

Maggie Mae with Long Sleeves

 The Maggie Mae Pattern has always been one of my favorites, one question I get a lot is "how would I make it long sleeve? Is that even possible?" I have always answered with a "sure I think so just make the sleeves longer" But friends, now I know. It is possible, it is easy and it is adorable. Seeing how Abbey just outgrew her previous Maggie Maes I thought what better time than now to make a new one and try out the long sleeves.
 It was really easy to do and the sleeves end up cut almost on the bias so it would look really cool with a print, even though I did opt for a solid. (by the way I got the print at Hobby Lobby, in case you are wondering) So here is a quick, "how to".
 The only piece that needs altering is the Top bodice piece. Every thing else I left as is. Then I simply cut the sleeve by extending the edge out so it would be a long sleeve. You can measure or use a shirt as your guide for how long. I will also note the pattern has the top part fully lined, I opted to not line the long sleeve version so instead I made a neck facing instead, lining would still totally work and you would sew it just like the pattern instructs.

Another note. Abbey was previously wearing 2T, which she just outgrew... well they still fit just a bit short, I opted to make her the 4T this time for a little grow room and I wasn't sure how the sleeves would be. She is almost 4, currently wearing mostly 3T items and the 4T was perfect. So if you may want to go up a size when doing long sleeves? Or maybe add a little width to the sleeve you could drop the bottom edge to give more room in the sleeve and underarm.

 So as I was assembling the pieces I followed the directions mostly, but since I didn't line the top when I got to about this point I added neck facing to finish the neckline, then at the end I had to hem my sleeves. Then everything else flows together nicely.
 Same design and look with the buttons down the back, and curves and pleats. (oh also I forgot to add I added some piping along the top curve line just for a little something)
 Abbey loves her new purple and pink top... we just won't point out the other colors... :)
I hope that makes long sleeves make sense. They are very easy to add, and give a lot of added options for bringing the pattern into fall. 


Other re-mixes I have done of this pattern can be found here:
(click on the pictures)