Alright next lesson in sewing 101 is another really easy way to finish a neckline. (the first was
facing, the second was the
flat collar) So let's talk ribbing. If you own a tee shirt then you have seen ribbing. Although knit fabric does not have to be finished since it won't unravel or anything it always looks much better if you finish the neckline. One of the easiest ways to do that is with ribbing. It still allows for plenty of stretch over the head and you can mix and match colors for design if you like. Rib Knit is a special type of knit that has lines running up and down it. (creating bumps like ribs) It has a lot of stretch to it.
To start you want to cut a strip that is long enough to fit over the head when stretched. I tend to hold the fabric up to my kids heads stretch it around their head and mark it. (include seam allowance when you cut it) You will also be folding the strip in half so make it twice as wide as you want it.
Next put right sides together (tends to be the slightly smoother looking side) Sew the ends of the strip together to create a tube. This is where I stop and check that the tube stretches over their head. (I like to double check so I don't have to redo it later)
Then you are going to fold the tube in half so the wrong sides are together. I hold it in place while marking the center back, center front and the two middle points with pins.
Next take your
bodice piece (already sewn at the shoulders) and pin the neck tube to the right side of the bodice around the neck. This is where you will match up the front middle, back middle and two side points with the shoulder seams.
Next start sewing. I start in the center back at the seam of the ribbing piece. Then you will stretch the ribbing tight, (so it matches the size of the neck opening) Stretch from pin to pin, sewing all the way around.
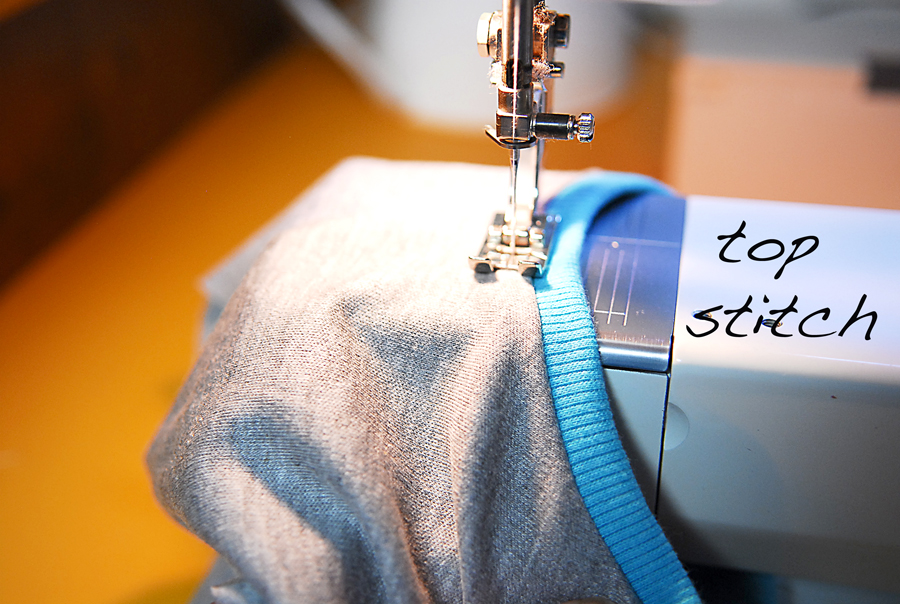
Then turn the seam to the inside and top stitch along the edge.
Now you have a nicely finished rib knit neck line.
You can use this same technique to finish sleeves as well just cut a smaller piece that is long enough to stretch around the arm. Then follow the same steps.
There you have a nicely finished sleeve the ribbing helps add a little bubble to the sleeve as well.
So there you have it ribbing, nothing to be afraid of, since you are supposed to stretch it as you sew it is really easy to work with, and hard to screw up.
You can also follow the same steps with a much taller band to make a turtle neck and you can use regular knit to sub in for rib knit just always be sure it stretches enough to make it over the head.


No comments:
Post a Comment